 Roof racks can be as personal as the vehicles we drive. Everyone has a want or need in a rack, if to run a rack at all. Most are bought, a lot are built or modded to suit their specific needs. In my case, I have run them and decided not to, then installed back on, then off again. I have ran a couple old-school Con-ferr racks, different sizes, have Yakima racks like Tony, and mix and match. I think I have come to a solution that hopefully will suit my needs better and longer. Who knows, it all could change down the road.
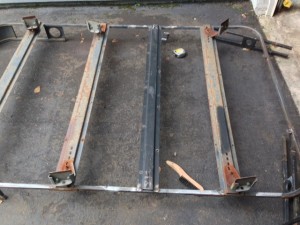
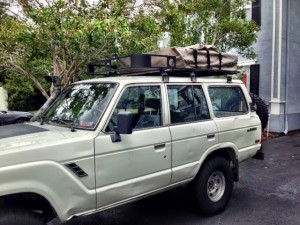
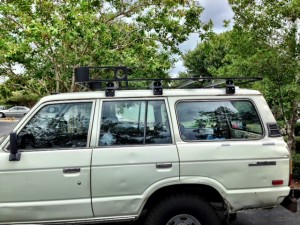 I wanted this time to mount my RTT on the Cruiser from the trailer. The trailer is getting worked on, and needed a good place to store the tent and be able to use it still. I have been looking around at different rack companies, various styles, etc. I chose to do some type of Touring rack, both being able to mount the tent low and still have an area to store things if needed. I had one complete Con-ferr rack and another one in pieces. I decided to combine them to make a longer one and cut the top off the rear.
I ended up lengthening in 11.5 inches. Why that much? I wanted to mount the RTT mount rails recessed into the rack cross bars, and that’s how much more I needed between to spans.
I used another cross bar from the my other rack and made it a 8 mount foot print.
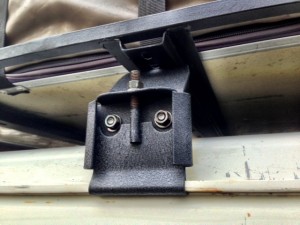
Had to pick up more rack mounts, luckily Smittybuilt makes replica Con-ferr mounts
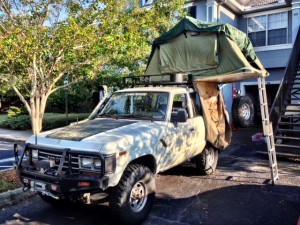 I kept the first 2 feet as the basket for firewood or what not. Capped the ends, and chopped the rest of the back off. I plan to add a mesh floor of some sort to the front part. I would like to utilize it for putting shoes on and things when the tent is open, that way don’t have to keep wet or muddy shoes inside the tent.
Over all I like the look and function. Stability wise can’t feel it too much, but I can tell via the vacuum gauge that I use a bit more right pedal to cut through the wind. Last 2 tanks of fuel noticed 1 mpg loss, 75% highway.
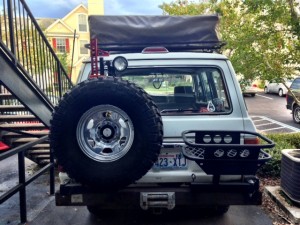 Rear storage- again same as roof racks. Different styles and designs for one’s needs. The ones I ran before I will admit were not pleasing to the eye, but were a culmination of learning to weld and material availibility. It was strictly set up for jerry cans only. I wanted to be able to carry more variations than that like Tony’s. Again, I didn’t really see one I liked, or visually see one in my head to make.
 I did have this hitch basket carrier I had bought for the move from Washington to Florida. It has been sitting in the garage taking up space, knowing I would never use it again. After staring at it, I figured I could shrink it down to the size I need.
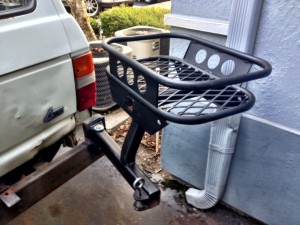 That’s what I did. I basically ground the welds off, cut the pieces out I needed, gave it a slightly different shape (slanted front, straight up rear) for a bit of style, and then welded it back up. Utilized even the receiver hitch sections for the support mount. What I was left with was a custom, simple, yet strong basket able to carry up to 3 jerry cans, water cooler, propane tank, etc. when I needed.
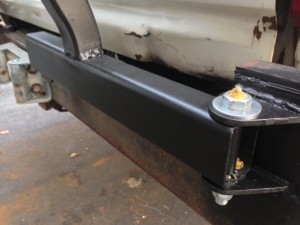 Also sleeved the pivot and added a greasable pin, same as the tire carrier side.
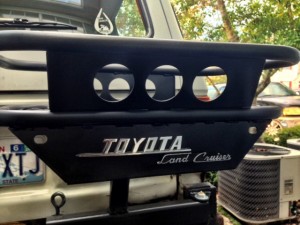 Then added a finishing piece, an FJ40 emblem off my old 40 I had saved.


