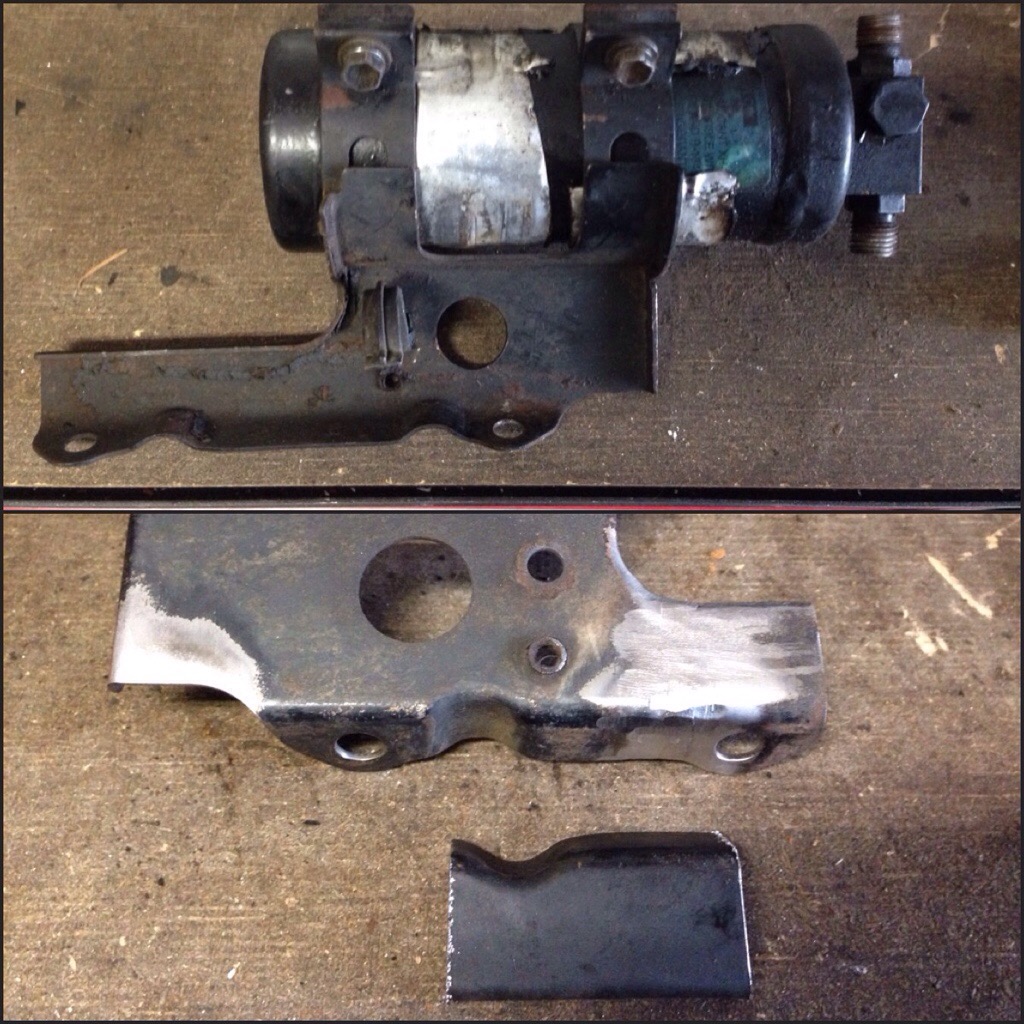
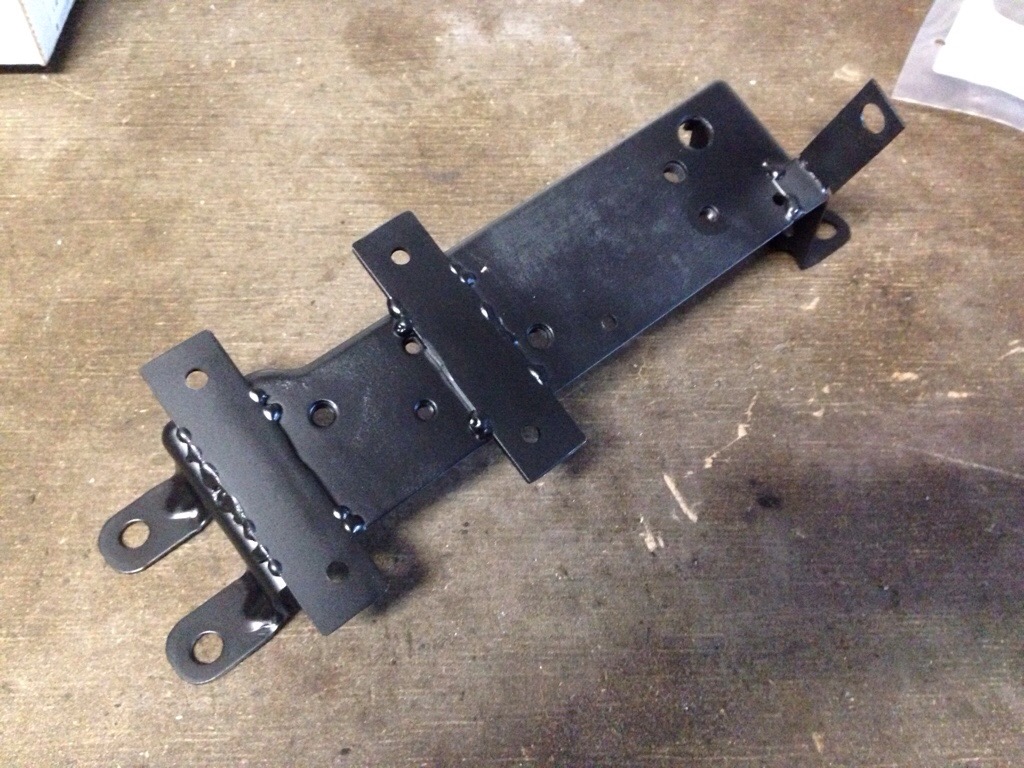
As with all conversions you will eventually have to fit something somewhere or adapt something to suit your liking. No different here. Took the afternoon to address some location issues for a few components. One was fitting the battery switch and isolator I am wanting to move into the engine bay from the glove compartment inside. One of the things that I removed that will no longer need is the bracket for some of the vacuum/EGR emission components mounted to the fender. It looked like the perfect place to mount both switch and isolator. With a few modifications it was good to go.
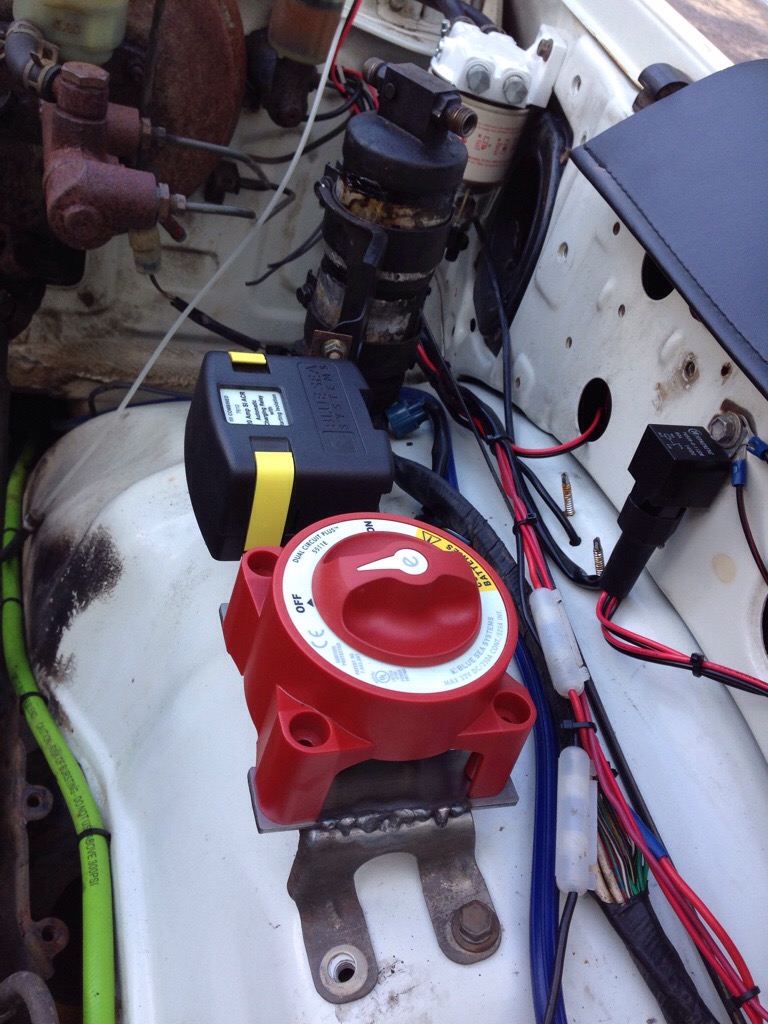
Another was the air conditioning dryer. Since the a/c compressor on the 3FE and 2H are opposite sides, I needed to move the dryer mounting bracket to the driver side to eliminate extra long hoses. This brought me back to the same battery switch bracket i just modified. Mounting the dryer to the side of the bracket seemed like a great place, but looked to position it too high to obstruct the hood closing. I ended up sectioning the dryer mount and adding another mounting tab to the battery switch bracket.
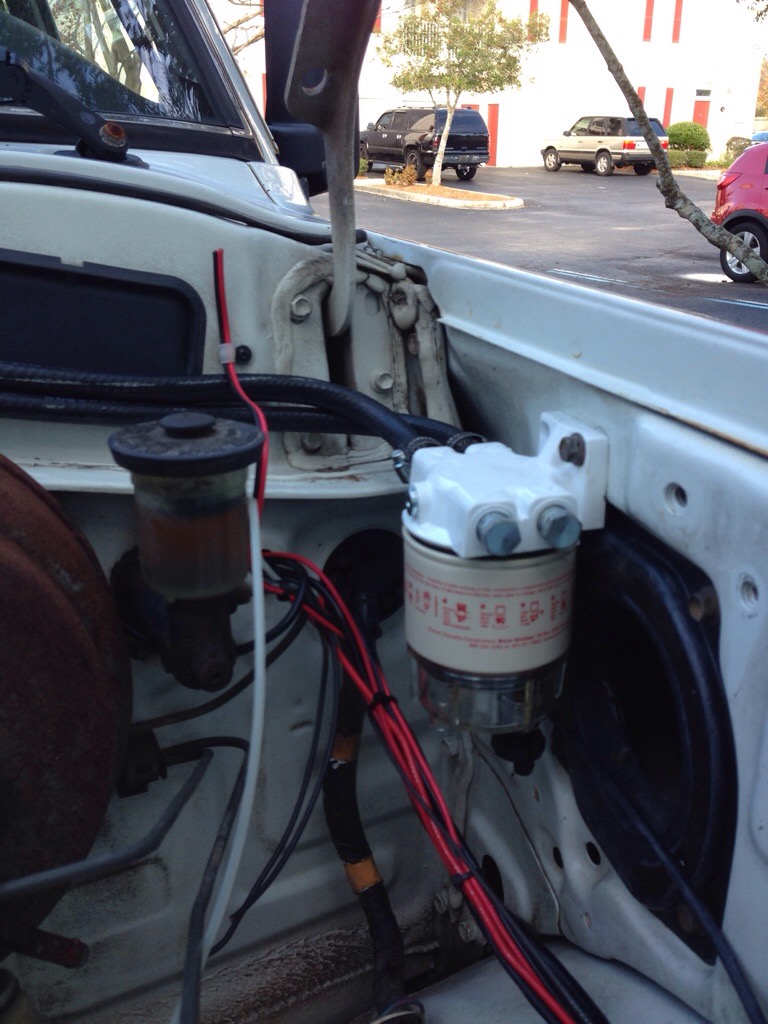
Fuel/water separator. This one has taken me the longest to find a “good” place for. I wanted to place area as Tony did, but on the 62 firewall, this is where the engine wiring loom comes through as well as my A/C lines. I could have “made” it fit, but would have looked sloppy. After much consideration I chose to mount it where the 3FE cooling fan was mounted. It does make for added fuel line, which I would have loved not to do, but it is out of the way yet still visible and accessible. Location subject to change.
Glow plug solenoid. As with Tony’s diesel, I will also be doing without the EDIC. Picked up a solenoid from West Marine and will be mounting it near the air cleaner once the engine is installed.
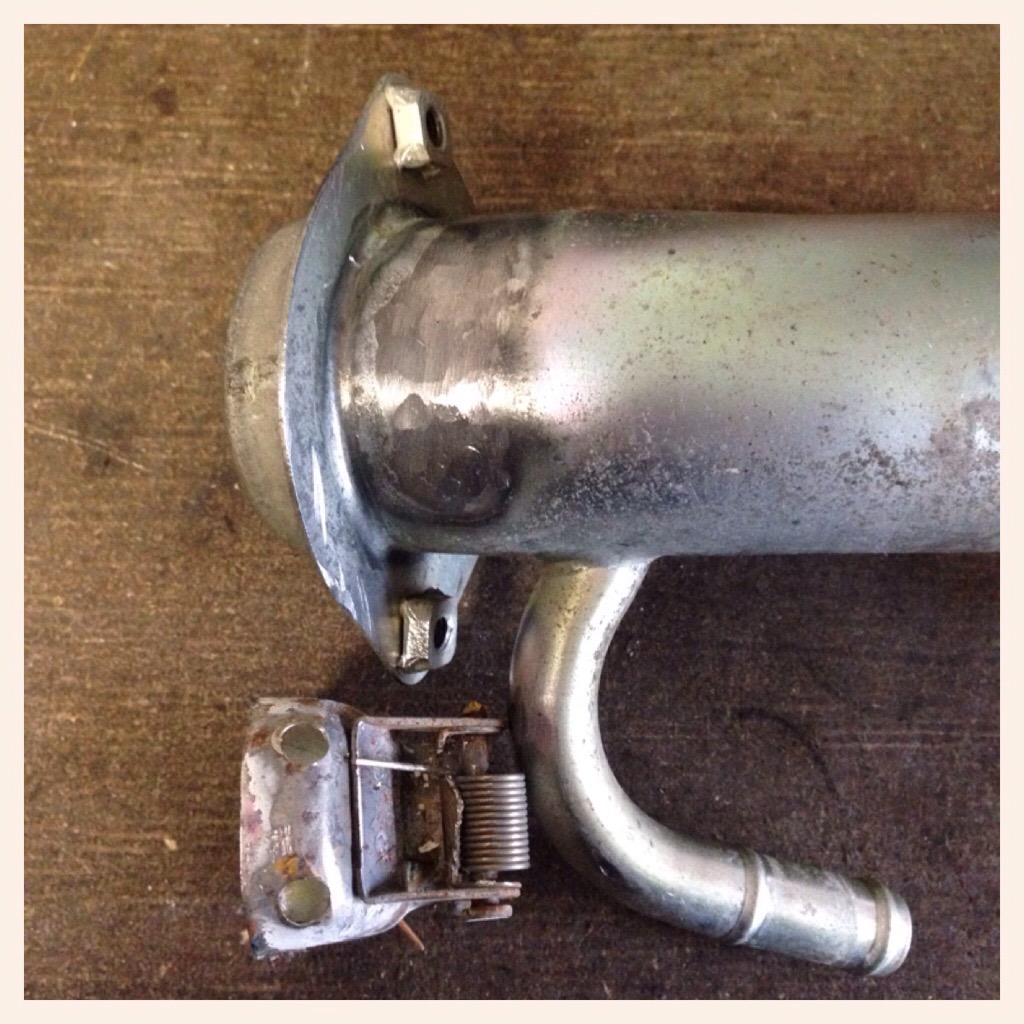
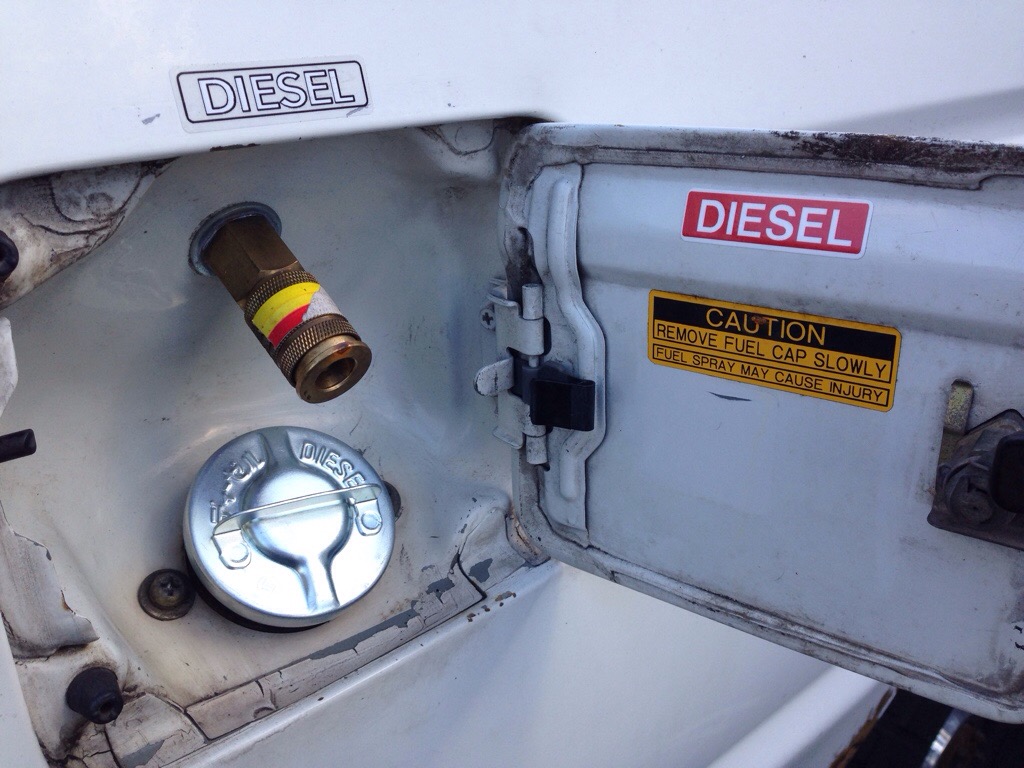
Fuel tank filler neck. Since the diesel nozzle at the pump is a larger diameter, I had to remove the restrictor in the filler neck. Pretty easy to do, just drilled out the three rivets holding it in place and welded up the holes. Also removed the “unleaded only” sticker above the fuel door and some “bragging rights”, but necessary, stickers and fuel cap. If I can’t remember to put diesel in this rig after this, there’s something wrong.