 Stopping better while staying cool. This week was spent trouble shooting brake system and getting the air conditioning working again.
Brakes-
If you know 60 series, then you know that the braking system is something less to be desired. My brakes have not been the best lately. They seem to have been getting worse for a while, seems no matter how much I bleed them and change the pads, it just doesn’t get much better. So this time, I had the time, so I decided to finally figure this out. I know this thing can stop MUCH better, Tony’s rig stops WAY better than mine, so I know something is not up to par.
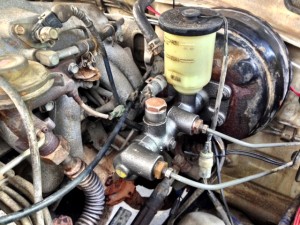 I hooked up a vacuum brake bleeder and started at the longest line at the back, as per FSM. Air bubbles. More air bubbles than fluid it seemed. After going through half a 32oz bottle of brake fluid, not much changed. Switched to the other side, better, but still a lot of air. Front brakes faired better, could get most of the air out of those. So I concluded that I have a component(s) that are leaking air. I decided to break the system down into sections and isolate as much as I could. After tedious disconnecting and reconnecting and bypassing things, it turned out that the rear chamber of the master cylinder was leaking as well as the LSPV.
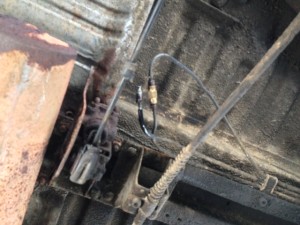 If you don’t know what the LSPV is, it’s basically a proportion valve for the rear brakes in which this valve opens and closes based upon the wight of the rear end. There is a rod attached to the rear axle housing that when the body sinks do to heavy loads, it pushes this bar into the valve, thus opening the proportion valve to allow more brake fluid pressure. Mine was frozen in the full up position and was leaking air. I know there is different opinions on whether one needs this valve or not. I chose to bypass it, since it already was frozen in the “fully loaded” position, which for me the cruiser is usually always at a full weighted configuration. So I saw no real adverse concerns for me taking it out of the system. I examined the line routing and found that one line acts as a return line to the front “T” fittings on the passenger frame rail. I connected the two main lines and then disconnected the return line from the LSPV and put a bleeder valve in the “T” fitting up front to block the fluid.
Once the master cylinder was replaced, re-bled the lines. No air bubbles!! Took it for a test drive and WOW!! She stops great now. Keep in mind that no pads, discs, or drums were replaced during this, so this is just the result of air in the system.
 A/C-
A/C-
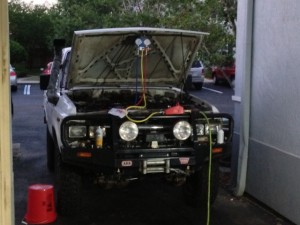
It’s been about 8 years since Lilly has had air conditioning. When I changed the radiator out long ago, ended up discharging the a/c system and has been out of service ever since. So why now get it working again? Florida heat and getting a system working again that’s there were pretty much the reasons. After researching what it took to get it fixed, it seemed quite the task and left to shops doing the work for a pretty penny. After talking to some other people and doing more researching, it seemed pretty easy to do, with the right equipment and process. Converting a system from R12 to R134 is pretty straight forward; replace the dryer, change the oil seals in the lines, and change out the oil in the compressor, assuming all the components still function. All this is because the oils and seals between the two coolants are not compatible with each other. Once that is done, hook up a manifold gauge set and charge the system with new oil to lubricate and flush the system, I read that about 8oz is what your shooting for, thats after adding 2oz to the dryer and whatever drained out of the compressor when changing the oil. Once the oil was added, I evacuated that and then put the system in a vacuum for 45 minutes. Important you do this if you want COLD air. The vacuum boils the moisture in the system and prepares it for coolant. I read that you should leave it in a vacuum for 30-60 minutes, i just chose 45 minutes. Also, the vacuum will also let you know if your system is tightly sealed too. Once done, added the refrigerant, making sure you are adding this to the low side only, again follow the instructions. Using the gauge reference for low and high side pressures in the FSM and plenty of gouges from other forums, I ended up adding 20oz of R134 to the system. Now for the test. COLD AIR!! I was sooo happy that it all worked.
 One thing to keep in mind with this process is to read all the info you can, from instruction manuals on the manifold and vacuum pump, and reading the FSM. A lot of people’s process for this were different, mainly because how their system functioned or operated before. When I thought I read it all, I was still confused on how it all operated, until I saw it in action. For me that’s how I mainly learn. But now I can say, like all others, it’s pretty simple and easy.
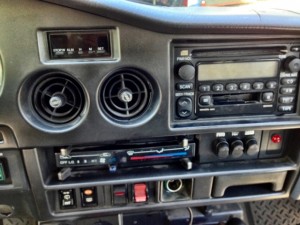
Spent a little while driving around, sure is nice with some well functioning brakes and the windows rolled up and cold air blowing from the vents. I also put my center dash vents back in. I replaced them with volt gauges with the thought I would never need those vents again.
Spent some time cleaning the interior as well. Also started grinding down the spots were the body armor met the ARB bumper, to clean it up nice.
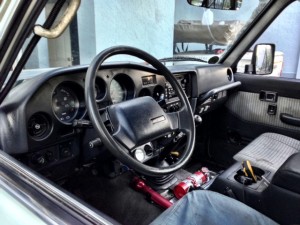
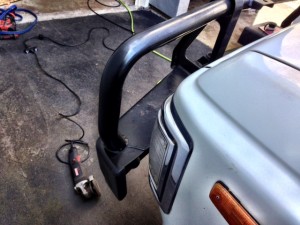
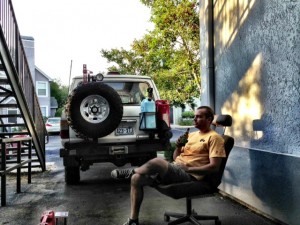 A lot done, with lots of positive results.
Now, what’s next on my list…

