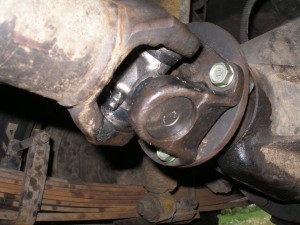
By Tony K
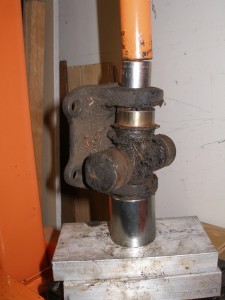 Like everybody I used to beat the heck out of my u-joints, both removing and installing. But I say that past tense. I have found a much easier, gentler way to do it. at least while I am in my shop. The old beat the heck out of things is still the method of choice on the trail.
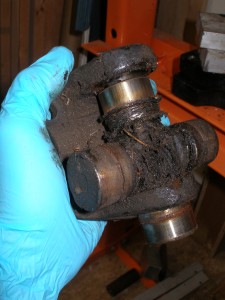 –The Press-
I bought my cheap 12 ton press to rebuild my diffs but I am constantly putting it to new uses almost everytime I get in my shop. This time around it is to force out old worn u-joints and gently press in new ones.
I usually start out by removing the c-clips that keep the u-joint from moving around (not that I have ever seen a loose bearing cup) and also be sure to remove the zerk fitting. Next I take a whack with a hammer and socket to loosen up the rusted in bearing cups. This way the press doesn’t have to fight the corrorsion as well as push out the cup. Grab a couple of sockets, a 19mm and a 32mm. The 32 is big enough for the bearing cup to slid into while you press down on the opposite side of the u-joint with the 19mm. I have also found an 1/8th piece of aluminum handy to keep things on the level due to irregularities of the mount location on the driveshaft but more so on the flange side of things.
 –Removal–
Once you are set up on the press, just push the joint as far to one side as possible. This allows you to remove the first cup. Next you have to press it back the other direction so you can remove the remaining cup from the outside. Once the last bearing cup is off you can pull the joint out of the center of the flange or driveshaft. Surprised me just how easy this is with a press compared to a hammer. Repeat this process on the remaining half of the joint and you are  good to install the new joint.
–Install–
I never liked the initial hammering together of the bearing cups, there is always the risk of a neelde bearing falling off the side and jamming up the works (it has happened to me). So now the first thing I do after cleaning up the yoke is to lightly set the bearing cups into place around a new u-joint and 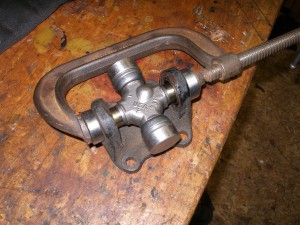 then squeeze them closer together with a large c-clamp. While the c-clamp has enough force to set the cups in place it is not capable of pushing the cups to their final position. This has to be done in the press. But using the c-clamp sets the cups far enough onto the u-joint to prevent the needle bearings from falling out when you press the cups all the way into place. And yes this works with the hammer technique as well.

