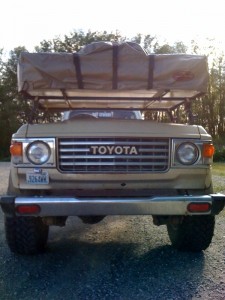
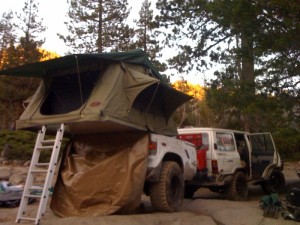
 Toward the end of building Mini-me, I knew I wanted to try a roof top tent (RTT). And what a better place to put one than on top of the trailer. Yes, I could save the money, use a good ground tent and be done with it, but that’s no fun. I liked the idea of setting up the tent in just seconds and already have sleeping bags and pillows inside ready to go.
 I looked around for a few months at the different makes, models and sizes. I learned that most all the brand names are built in the same place, but just get badged with different names. Most all are designed the same way, some have better harware and some have better fabrics. Not wanting to spend $2000+ on a tent that wont get used but a hand full of times a year, I opted for the lesser priced “copies”. Like with anything, the more you take care of something the longer it will last. That is true with RTT’s. As long as you don’t abuse it, keep them clean and take care of them, any tent you choose should last you a long while.
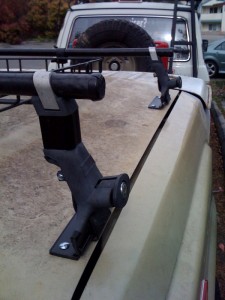
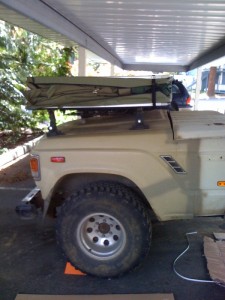 The RTT I chose to go with was the Mombassa Expeditions Series version from GoOverland.com. It measures 94″ x 55″ opened. It comes with a universal mounting system which allows either mounting to flat surface, roof rack or bars like Yakima or Thule. Since a hood does not have rain gutters, I mounted some Yakima “fake” rain gutters to the hood. You have the option of either positioning it to open to the side or front/back. I suggest you give this some thought before you finally mount it. Depending on which way you decide, you must cut the mounting rails (made of aluminum) to the desired length for your setup. If you do choose to change it later on, you can buy just the mounting rails separately.
 I chose to mount mine so it opened up toward the rear. Since I already had a Yakima rack to use, I just needed to level it out with some tower spacers for the rear. I recommend having a buddy help you lift into position since it weighs about 120lb. Once in place it’s just a matter of using the included bolts and plates to mount it to the bars. I since then have changed to using the Yakima accessory bar mounts for mounting the tent instead of the many bolts and plates.
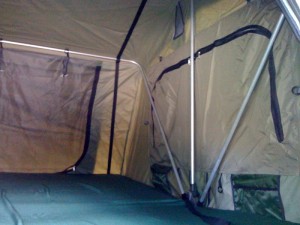
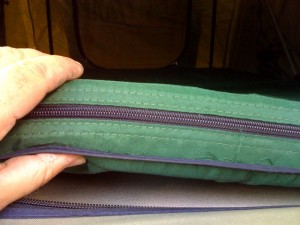 Once installed it was time to open her up. Setup is very easy, undo the two rear velcro straps, pull the ladder out and pull. The ladder comes already with holes to extend the ladder to full length, you can also purchase another smaller extension for those with taller vehicles. Since my tent isn’t mounted on top of a vehicle, I added more holes to the ladder to accomodate the shorter and different lengths I needed. Once unfolded, you can then setup the rain/window canopies and climb right in. Inside there are 4 small bungee cords that are attatched to the sides of the tent to aid in collapsing the sides when being folded. There are also pockets on either side for small items. During the Rubicon, I left two sleeping bags and pillows inside at all times with no problems folding the entire tent back up.
Stowing the tent is just the reverse. I recommend having a second person help with the first time, just to make sure things are folding and tucking in the way they should. After a couple times I was able to do the entire process by myself fairly quickly. They key to longer lasting tent is to of course take care of it. Periodically check all the hardware, make sure everything is in good working order and keep it clean. If all that is done, then any RTT should last a long while.

